

I can never get enough of chocolate!
Well, I looove to bake with chocolates and trying out different
chocolate based bakes makes me happy! And well, who doesn't like
cakes and cookies with chocolates? So it is Chocolate wafers this
this around here!
I thought of deferring posting this as
my previous post was Wacky Chocolate Cake, but couldn't resist my
temptation to share it! The pics of other stuff that I've made and
shot are not yet processed and why not post the same, I thought....

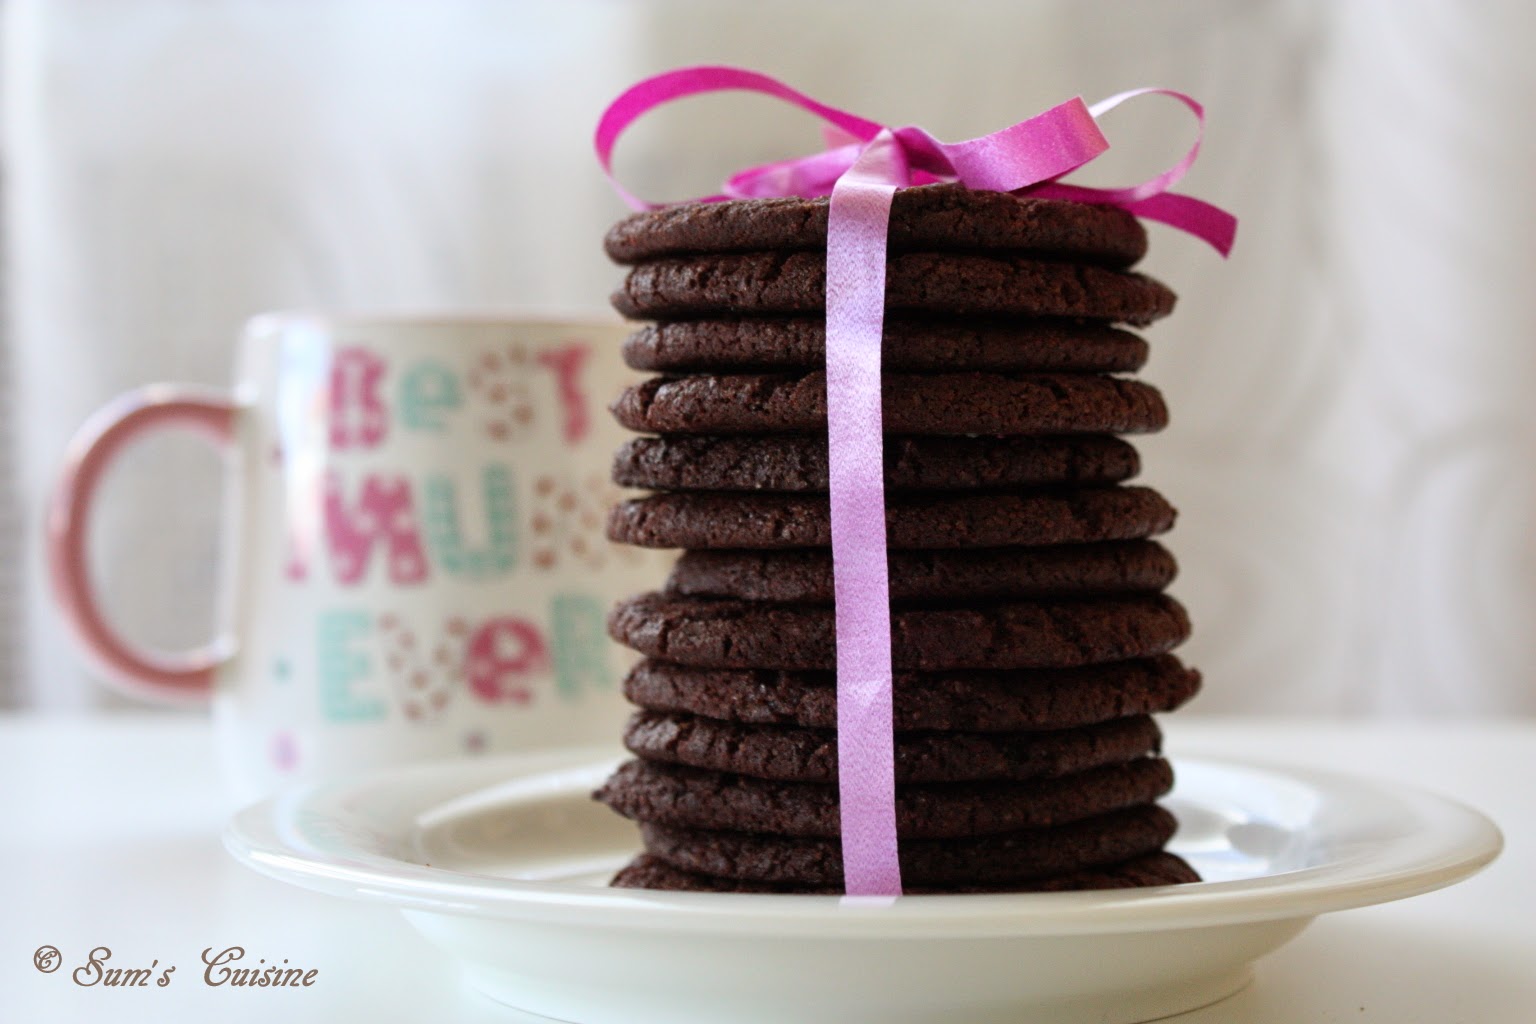
Well, these chocolate wafers are really
simple to put together. The dough making took hardly 15 minutes of my
time and then off it went to the fridge, in the form of logs. The
excess can be dumped into the freezer too! It can be pulled out of
the refrigerator whenever necessary, cut into slices and baked. And
the baking time is also very little – 10 minutes for a batch is
nothing, if you ask me, especially what comes out is a batch of drool
worthy, chocolaty cookies!

And did I tell you these have very very little fat?? And they stay fresh for about two weeks!! Hope you'll enjoy these as much as we
did! Here's the recipe....
Chocolate Wafers

Preparation time: 15 min
Resting time: Overnight
Baking time: 12 min
Makes: 36 - 40
cookies
Source:
Joy
of Baking
Ingredients:
All Purpose Flour - 1 cup (130 grams)
Unsweetened Cocoa powder - 1/2 cup (50
grams) (regular or Dutch-processed)
Baking soda - 1/4 tsp
Salt - 1/4 tsp
Unsalted Butter - 3 Tbsp (45 grams),
room temperature
Margarine - 3 Tbsp (45 grams)
Packed light brown sugar - 2/3 cup (140
grams)
White granulated sugar - 1/2 cup (100
grams)
Pure Vanilla extract - 1 tsp
Egg white - 1 large (30 grams)
Method:
To make the
Dough:
- In a bowl, sift or whisk together the flour, cocoa powder, baking soda, and salt.
- In the bowl of your electric mixer (or with a hand mixer), beat the butter and margarine until well blended.
- Add the sugars and vanilla extract and beat on high speed for about one minute. Scrape down the sides of the bowl.
- Beat in the egg white.
- Add the flour mixture and beat just until incorporated.
- Place the dough on your counter and, using your hands, evenly form the dough into a log shape that is about 9 inches (23 cm) long. I made two smaller logs of about 5 inches long
- Carefully wrap the dough in aluminium foil, parchment paper or wax paper and fold or twist the ends. Try not to flatten the log.
- Refrigerate until firm. This will take several hours or you can even chill it overnight.
To bake the
Cookies:
- Preheat the oven to 180 deg C (350 degrees F) and place the oven rack in the center of the oven. Line two baking sheets with parchment paper.
- Using a sharp knife, slice the log into about 1/4 inch (6 mm) thick wafers.
- Place the wafers on the baking sheet spacing, about 1 inch (2.5 cm) apart.
- Bake for approximately 10 - 12 minutes or until the the cookies puff and the tops of the cookies have cracks (ripples).
- Remove from oven and let the cookies cool on the baking sheet for about 5 minutes before removing to a wire rack to cool completely.
- Can be stored in an airtight container, at room temperature, for about 10 days. They can also be frozen.
Notes:
- I used 90 g (6 Tbsp) of dairy free margarine only
- I made two smaller logs and baked them on separate days.
- Baking for 10 minutes gave slightly chewy cookies and 12 minutes gave crispy ones