
My sis, who has recently started cooking and doing a good deal of
everyday cooking, had one serious comment for my blog. That the number of
everyday recipes has reduced of late, and specialty recipes are increasing!

Oh yes, I realized, of course that is true! Though I make a big
variety of dishes everyday, making sure not to repeat stuff more often, somehow
there was a drop in interest to click it and blog about it. The cakes, breads,
party recipes had been stealing the limelight of late. Her comment was that new
brides like her are on the lookout for everyday recipes more than these baked
goodies, party recipes and so on.

So here I am, trying to be fair to some great everyday recipes, posting
them as well. This is one such, which can be made in a jiffy and serves as a
great accompaniment to rice. Learnt this from mom quite recently, and this had
been a savior on those tired-from-work-but-want-something-satisfying days.
Can you believe me all it takes is 2-3 minutes of your effort, and not
more than 5 minutes in all, including the cooking and cooling time? And it
just tastes heavenly. Seriously. You can have it for even all three servings
and still not be bored of it, it is that good.

Try it out for yourself to believe me…
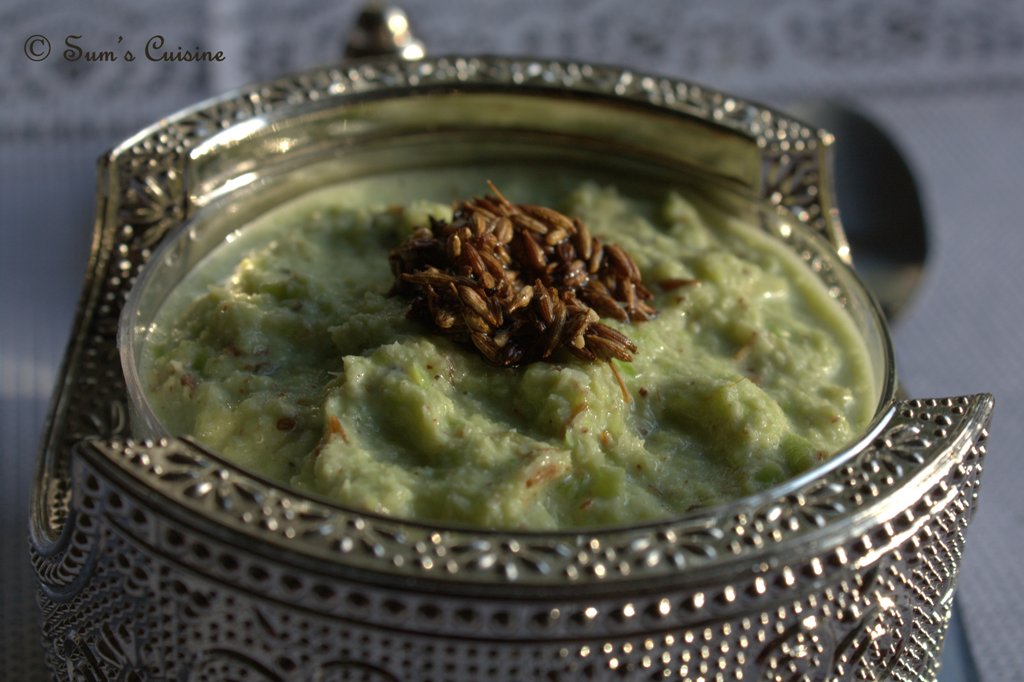
Capsicum / Bell Pepper Tambuli
Preparation time : 2 min
Cooking time : 1-2 min
Serves : 4
Ingredients:
Green capsicum / bell pepper - 1 medium sized
Ghee - 1 tsp
Cumin seeds - 1 tsp
Pepper - 1 tsp
Dry Red chili - 1 or even half - optional
Coconut - 3 Tbsp, grated
Salt - ½- ¾ tsp or as per taste
Curd - ½ cup
For
tempering:
Ghee - ½ tsp
Cumin seeds - 1 tsp
Method:
- Core
and deseed the bell pepper and roughly chop it into big chunks
- In
a skillet, heat ghee and roast cumin seeds, pepper and red chili
- Once
the spices are roasted, add chopped bell pepper and sauté till they wilt,
for a minute or two. Do not overcook it, just a sauté is fine
- Let
it cool for a minute or two
- Grind
the above mixture with grated coconut into a chunky paste
- Transfer
it to a bowl and mix in salt and curd
Tempering:
- In
a skillet, heat ghee and add cumin seeds and allow to splutter
- Transfer the tempering to the Tambuli and serve with hot rice
Notes:
- If
you have a microwave, you can dump the halved bell pepper, cumin and cumin
and black pepper and cook for a minute on high and proceed with the next
step. This is even easier!
- I like
to grind it into a coarse consistency; you may grind it smooth as well.


