Monday, June 9, 2014

Rave Rotti / Semolina Flatbread


People have started asking me now, how I get the time to try many cooking and baking recipes and even blog about them, with an almost 8-month old. Well, I guess if one wants to do something, one figures out a way to! I tell them I get more time now, than when I did with him in my tummy!! Being the footballer he is, he'd kick every food that went into my tummy and I'd throw up almost every meal! Which left me with not much of an appetite to eat or cook! Seems so funny now, to look back... how I hated cooking or anything to do with food, except occasionally enjoying eating out. The interesting meals that D or Amma churned out frequently, tailored to suit my changed taste buds, the super sensitive nose, changed tummy capacity, with reduced spice levels would please me only occasionally... and then there was this question of whether the little fellow inside would decide to not it kick out!! So as a result of all these the blog suffered inactivity too.


And now, with my lil one being fond of watching me cook, right from the time he's 2 months old, I am loving to churn out different things - cooking and baking. He loves to sit in his little chair, earlier in his bouncing chair, watching me talk, and sing and cook or bake. I hand him a light weight, baby safe cutlery or a colorful wrapper or something that keeps him occupied for a few minutes and quickly dish out something. Most of the times, I had not been able to feed the little one what I cook as he was too small, but now, I guess I can start giving him a taste of many of the delicious stuff that i prepare.   
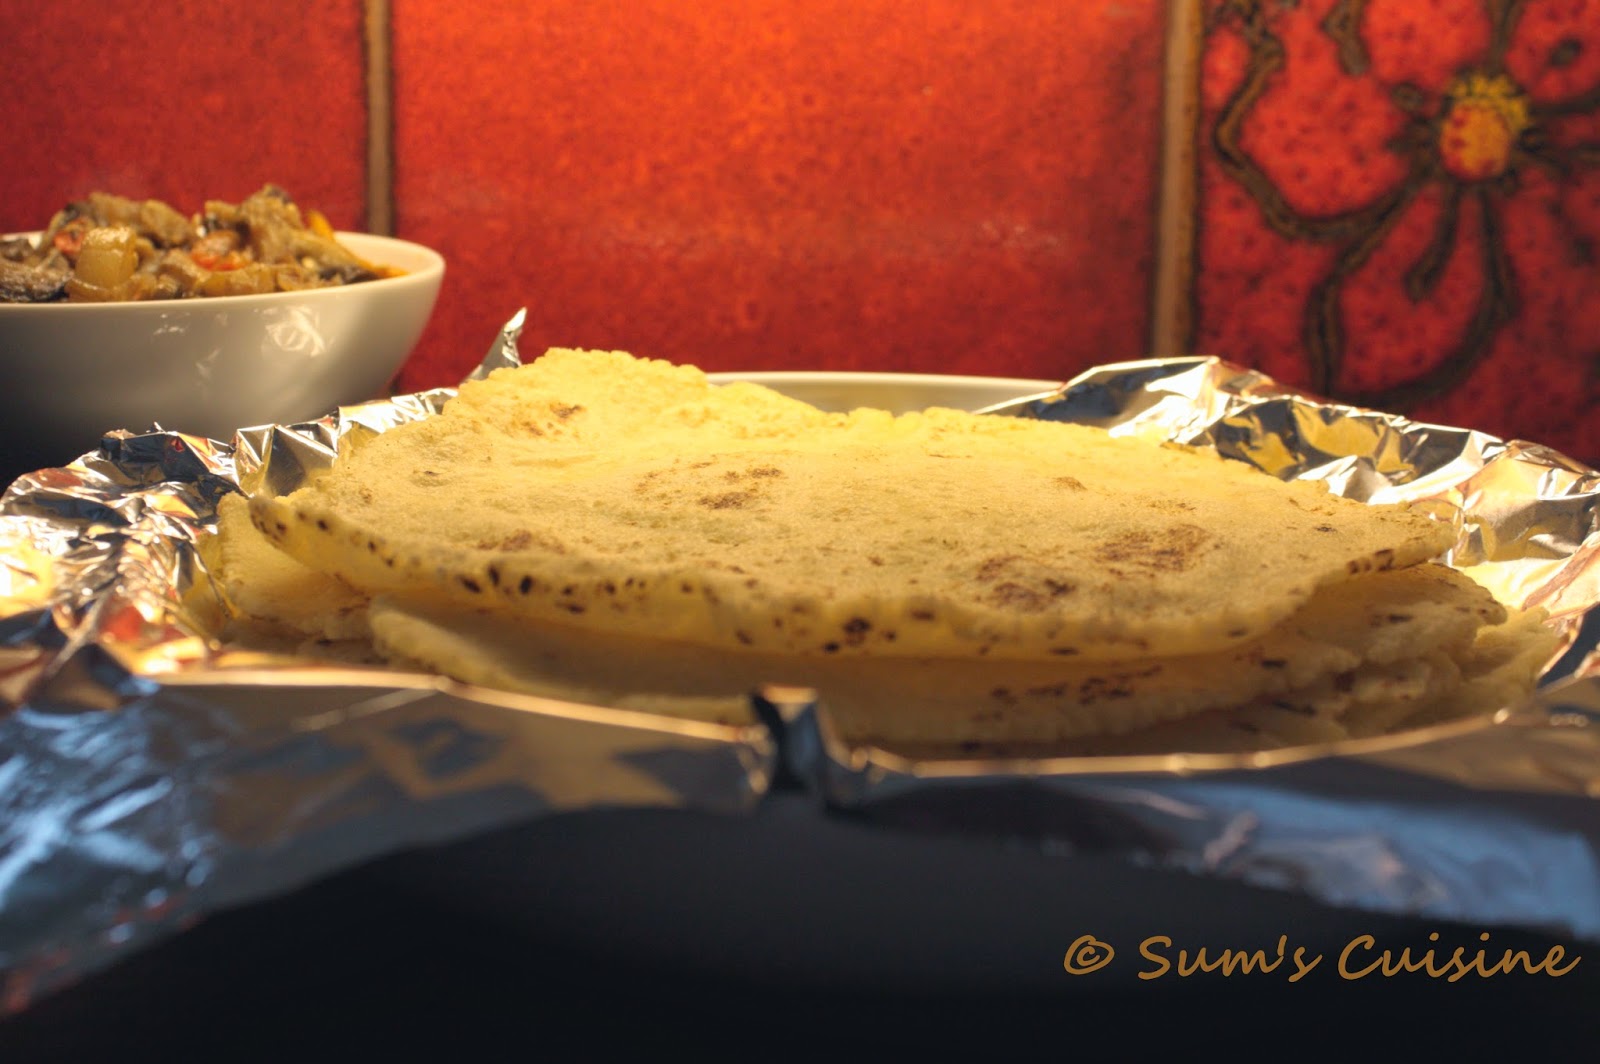

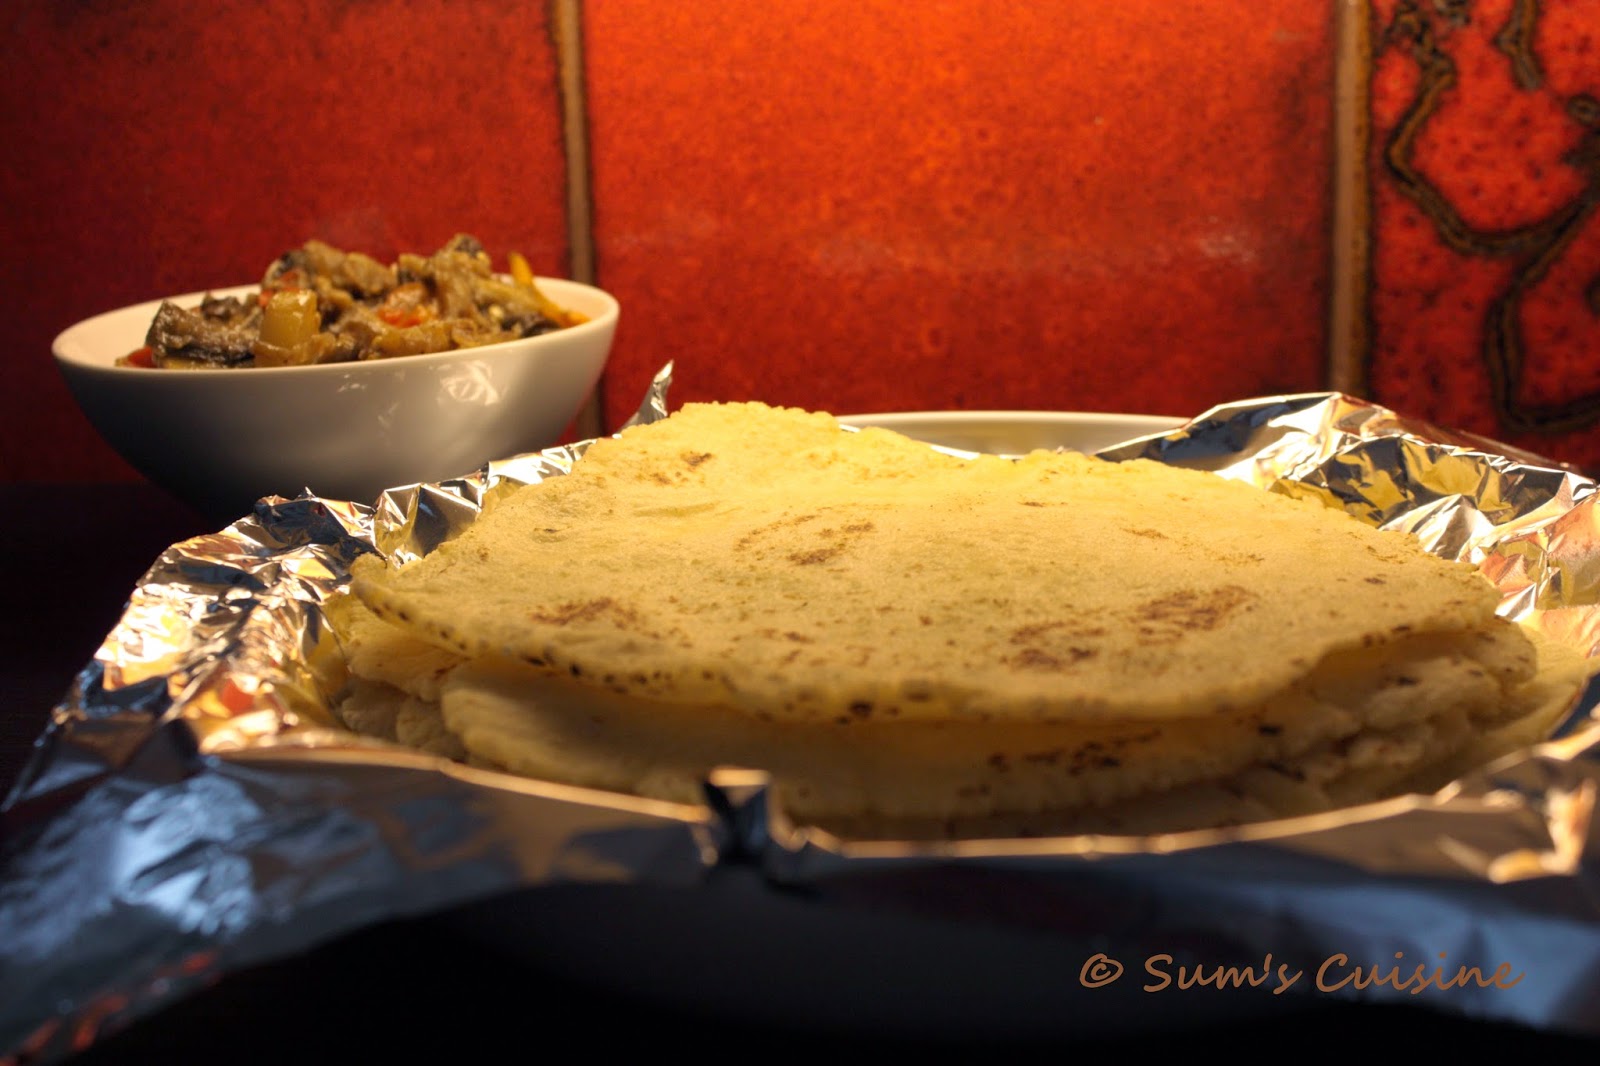
So, coming to the recipe of this post, these are rottis/flatbread made of fine semolina. The semolina is cooked first in water and then, kneaded when still warm and rolled to rotis and cooked on a skillet. It does not require any oil for cooking except for a few drops that are used for kneading the dough. The resulting rotti is soft, almost melt in the mouth, that goes along well with many curries and gravies. It is similar to the Ubbu rotti prepared with rice flour but a bit easier that them for kneading and rolling. 


Well, don't get scared to attempt these reading the steps, it is not very difficult than making normal chapathis/roties... just a step or two more... But the result will be totally worth it.... So here's how we make it....   

Rave Rotti / Sooji Roti / Semolina Flatbread

Preparation time : 15 min 
Cooking time : 5 min for the dough and 2 min for each rotti 
Makes : 10-12

Ingredients:
Fine Semolina (Chiroti rava/sooji) - 2 cups 
Maida / Whole wheat flour - for dusting
Water - 2 cups (This usually works fine but you'll know the exact amount required for your sooji after one trial)
Salt - ½ tsp, or as per taste
Cooking Oil - 2 tsp

Method:
  • In a heavy bottomed pan, boil water by adding salt and a few drops of oil
  • Once water starts boiling, add semolina and let it remain for 4-5 minutes on medium low flame
  • At the end of it, take a strong ladle and continuously stir, avoiding lumps. A wooden one works better
  • Turn off the heat and continue mixing as much as possible. The resulting dough should be similar to that of papad dough - soft, but non sticky
  • Let it cool for a couple of minutes so that it can be handled
  • Divide the dough into 3-4 parts and knead it well, smearing a few drops of oil. See notes below for easier ways.
  • Once the dough is kneaded well into a soft but firm dough, take small lemon sized balls and roll it using rolling pin like a chapatti/roti. Use a little amount of maida or atta for dusting.
  • Heat a griddle on high flame and cook the rolled rotti on both sides by flipping. Ensure not to brown the rotti. Appearance of light brownish spots indicates that it is done.
  • Repeat the same with rest of the dough
  • Serve hot with some palya/gojju/chutney
Notes:
  • To avoid your palms getting burnt while kneading the hot dough, fill it in thick polythene and cover it in a towel / thick cloth and knead it over it. This way a smooth and soft dough will be ready in a jiffy
  • Knead it, make into balls before you start rolling. This saves time and effort, and it gets easier to roll and then cook simultaneously. Or you can roll all of them first and then cook them one after the other. To stack up the rolled rotis make sure you've dusted them well, to prevent sticking to each other 
  • The better you knead, the easier it is to roll. If the dough is not kneaded well, while rolling the rottis start cracking and gets difficult to handle

Monday, May 26, 2014

Baby Food: Vadda Ragi Hittu / Finger Millet Malt


It's amazing how time flies in a rocket speed, especially when it comes to babies. It is as if it were yesterday that I was soooo pregnant, counting days till the due date, and waiting desperately to the little naughty fellow inside, who was making it so difficult for me to eat or sleep! And Adu is now already seven months old! Seven months!! How soon did the time fly off??


But I'm glad I'm living every single moment with him, enjoying all that he does, most of the time. I can sit for hours with him, just admiring this little sweet fellow and feel blessed! May be this is what is called Motherhood!

I started giving him solids after he completed six months, and boy, was he eager to start eating! He used to see us all eat and drink various things, especially when in India, with lot of people around. He had naturally become curious about this 'eating' business! I didn't want to start solids till we travelled back here, and till he completed six months and so poor he, had to wait. He however, had started his eating business with the occasional kheers/payasas that the ajjis specially made dairy free and fed him. He used to devour it, his ajjis would beam in joy, while I would worry he'd reject his baby foods later if he got used to the sweet taste first. He was, however, quite adaptable, even in this case and accepted my salt-less, sugar-less preparations equally well.

Mom prepared two varieties of ragi based malt for him, so that it'd be easy for me back here. Here's the first one, with just ragi / finger millet, sprouted, powdered and sieved with a cloth. Ragi is considered one of the best home made foods for infants in Karnataka, Andhra and Maharashtra. This is a wonderful food for starting on solids for the following reasons:

  • Food quality of finger millet is enhanced by sprouting finger millet.
  • Food prepared from malt is easily digestible
  • By sprouting, salts in finger millet are easily available to the body
  • Water soluble vitamins will increase and the quantity of anti nutrients will decrease
  • Sprouted finger millet possesses maximum energy/calorie and high density nutrients.

Adu loved his first food and was eagerly looking forward to his meal times as long as I gave him only this malt. The pack Amma had sent lasted for about 3 weeks after which I started with 'Ragi Sari', another malt with ragi, and other grains.

Vadda Ragi Hittu / Finger millet Malt

Ingredients:
Ragi - 1 kg (Amma had made with only about half a kilo of ragi, which didn't last long)

Method:
  • Wash cleaned ragi and soak it in water for 24 hours
  • Drain the water in a colander and cover it loosely.
  • Allow it to sprout for one full fay or a little more if the weather is cold.
  • Dry sprouted ragi in shade completely till all the wetness is gone.
  • Roast it in a pan on a low flame till it gives aroma
  • Cool and grind it to fine powder.
  • Sieve it with a fine cloth, discarding the residue (or mix it with any other flours used for adults or add to dosa batter, rather than just wasting it)
  • Store it in an air tight container

Preparing the Malt:

Ingredients:
Ragi malt (Vadda ragi hittu) - 1 tsp
Milk + Water - ¼ cup (See notes)
Ghee or oil – 1 tsp (I use oil as Adu has milk-protein allergy)

Method:
  • In a small saucepan, mix the ragi malt and water (and milk if using)
  • Bring it to a boil, stirring frequently.
  • Once it starts bubbling, take it out from heat, add the ghee/oil and mix.
  • If the consistency feels thick, thin it out in a bit more boiled water
  • Let it cool down to luke warm to feed the baby
Notes:
  • I use water and a spoonful of his milk-free formula powder, as Adu is allergic to cow's milk. Do the same if you do not want to introduce cows milk to your baby under one year.
  • You can also use breast milk in place of milk or formula. In this case, use lesser water and thin it out with BM at the end
  • Adjust the quantity of the malt and the consistency as per your baby's appetite and preference. You'll get a hang in a couple of days.
  • Using one tsp of the powder is just enough for Adu.
  • Salt and sugar are not recommended for babies till one year, so I avoid using both, except on rare occasions, when I add a wee bit.

Thursday, May 15, 2014

Date and Almonds Muffins

Dates are packed with an impressive list of essential nutrients, vitamins, and minerals. Dates are an excellent source of iron, contains 0.90 mg/100 g of fruits. Iron, being a component of hemoglobin inside the red blood cells, determines the oxygen-carrying capacity of the blood. It is highly recommended for vegetarians to counter anemia. 

If you are someone like me, you find dates are a tad too sweet to eat as is. It is with great difficulty that i manage to eat a couple of them, and then get really saturated with it! So, I'd rather like to add them as sweeteners to my milkshakes, smoothies and so on, which will have an added benefit of reducing sugar! And then another nice way to use up these fruits are in bakes... as there would be less guilt for using much less of the bad-sugar and sneaking a good-fruit! 


In this case, it is paired with another ingredient filled with nutrients - almonds. And the almonds, along with giving a nice nutty taste and texture, helps in reducing the amount of fat that goes in. It was a perfect recipe for my baking itch.

It can be baked as a cake, as in the original recipe, but i chose to bake them as muffins/cup cakes. I'd rather call these as muffins than cup cakes owing to the oil used, the mix-n-bake preparation and the final texture. They make a nice snack or breakfast item. 

Date and Almonds Muffins

Preparation time : 15 min
Baking time : 5 min
Adapted from  : Versatile Kitchen

Ingredients:
Almonds - 1 cup (Remove the skin if you want a lighter color, I didn't)
Dates - pitted 15
All purpose flour - 3 cups
Salt - 1 tsp
Baking powder - 2 tsp
Baking Soda - 1 tsp
Cardamom powder - 1 1/2 tsp OR Vanilla - 1 1/2 tsp
Sugar - 1 1/2 cups (I reduced the sugar by a couple of tablespoons)
Vegetable or Canola Oil - 2/3 cup

Method:
  • Soak almond and dates in warm water to cover them for about 4 hours. 
  • Grind into a smooth paste in a mixie/blender. Use enough water so that the resultant liquid/puree is 2 1/4 cups.
  • Preheat the oven to 180 dec C or 350 F. 
  • Grease and line the muffin tray with paper liner cups and set aside. I used silicon cups.
  • In a bowl whisk together flour, sugar, baking powder, baking soda, salt, cardamom powder. 
  • In another bowl whisk together the date and almond puree with oil and vanilla if using. 
  • Dump the dry ingredients to the wet and stir to combine. Do not over mix. 
  • Pour into the prepared cups. Bake for 30 minutes or until a toothpick inserted in the center comes out clean.
  • Cool on the wire rack in the pan for about 10 minutes before turning it on to the wire rack to cool completely. 
  • When completely cool, glaze or just sprinkle with powdered sugar. It tastes good as is, without the additional sugar or glaze.
Notes:
  • I halved the recipe and made 8 cup muffins.
  • If baking in a cake pan, bake for 50-60min.
  • I increased dates by 3-4 and reduced the sugar and it was just fine.