Monday, October 27, 2014

Cranberry Walnut Bread - From The Bread Bible


Have been visiting the city library quite often these days, especially for little Adu who loves books and also the time he gets to spend at the baby section there, with other kids and truck loads of books. And then after that I get drifted towards the cookery section and get carried away by the wonderful cook and bake books there. Just can't resist myself from picking up a couple of them. And then I come home and sit with the books, adoring and admiring the recipes, the pictures, the author for all the hard work and dream about making a few of them, and note a few... And occasionally I do attempt to make one or two too, after all the drooling! And a couple of times, it so happened that I returned the books without noting the recipes that I tried from them and liked. And return back to the library again, looking for the same book, so as to note down at least the one I tried!


So this time, when I came home with the humongous book 'The Bread Bible' by Rose Levy Beranbaum, I was determined to make a few of them, and to note them down before returning! And so I tried out this recipe, as I was also looking for a recipe to make use of the dried cranberries that I had got and the pack of walnuts lying in the kitchen. The recipe is originally a Raisin Pecan bread, to which the author suggests this variation of cranberries and walnuts.


The bread turned out very nice, with a beautiful texture. The process however was a bit more lengthy than the ones I usually prefer, with the sponge and its resting time taking up extra hours, but then its not a complicated process anyway. Just needs more time, and the end result was a really beautiful loaf. I've simplified it by using a loaf pan, as opposed to shaping a free form loaf and baking on a sheet.

Here's the recipe, shortened from the version in the book...

Cranberry Walnut Bread

Preparation time: 10-15 min
Dough starter: min 1 ½ hrs, max 24 hrs
Minimum Rising time: abt 3 ½ hours
Baking time: 45 – 55 min
Source: Rose Levy Beranbaum's 'The Bread Bible'

Ingredients:
For the Soaked Cranberries
Dried Cranberries – 1 cup
Hot water – 1/3 cup

For the Sponge / Dough Starter
Bread Flour - 1 cup
Instant Yeast – ½ tsp
Water at Room temperature - 1 cup (Incl cranberry soaking water)
Honey / Light Corn syrup – 1 Tbsp

For the flour mixture:
Bread flour – 1 ¼ cup
Whole wheat flour – 1/3 cup
Instant Yeast – ¾ tsp
Walnuts – 2 cups, divided use
Salt – 1 ¼ tsp
Vegetable oil - 1 Tbsp

Method:
  • Soak the Cranberries in the hot water for about 30 min, until soft and plump
  • Drain them and reserve the water in a 1 cup measuring jar
  • Add more water to make this 1 cup water to use in the sponge below
  • Prepare walnuts: Toast the walnuts either on stovetop or in the over at 170deg C for about 7 minutes. Peel off the skin with a clean kitchen towel as much as possible
  • Finely grind ½ cup of this along with whole wheat flour. Chop the other 1 ½ cups into fine pieces and keep aside.
  • Make the Sponge: In a large bowl or mixer bowl, place the ingredients for the starter and whisk for about 2 min until very smooth.
  • Scrape down the sides, cover with a wrap and set aside while making the flour mixture
  • Make the flour mixture: Mix together all the ingredients except the chopped walnuts, oil, salt and a ¼ cup of flour. Spoon the mixture over the sponge lightly and cover tightly and let sit for 1 to 4 hours. The sponge will bubble through the flour mixture.
  • Mix the dough: Add the salt and oil, and mix with a wooden spoon or with hands to bring the dough together. Knead for 5 minutes adding the reserved flour to prevent sticking.
  • Keep covered for about 20 minutes and again knead the dough for 5 minutes till very smooth and elastic.
  • Spread the dough into a rectangle and add the walnuts and soaked cranberries over it and roll it and mix it in to evenly distribute.
  • Let the dough rise until it is double in volume for about 1 ½ hours, placing it in an oiled bowl, covered with a cling wrap.
  • Shape the dough into a 11” long loaf on a floured counter. I simply shaped it into a greased loaf pan and spread it to fill it. Let the dough rise till double again, for about an hour
  • Preheat oven to 220 deg C (400 F) and place a cast iron skillet or a sheet pan in the lowest shelf for water.
  • Bake the bread: Slash the bread with a sharp knife ¼ to ½ inch deep parallel slashes on the top of the dough. Mist the dough with a little water and quickly place it on the oven.
  • Toss ½ cup ice cubes into the tray at the bottom shelf of the oven and close the oven door quickly.
  • Bake for 5 minutes and reduce the oven temperature to 180 deg C (375 F) and continue baking for 40 – 50 min until the top is golden, and a skewer inserted comes out clean or the bread internal temperature reads 190 F (Mine was done in 45 min)
  • Cool the bread on a wire rack for about 2 hours before slicing it with a serrated knife into slices
Notes:
  • This is a variation of the Raisin Pecan bread that Rose suggests in the book
  • I added a mixture of cranberries and raisins.
  • I reduced the cranberries and walnuts by about half a cup thinking it was to much, but then later realised the amounts given by the author were perfect. Mine seemed a little too less in the bread

Friday, July 18, 2014

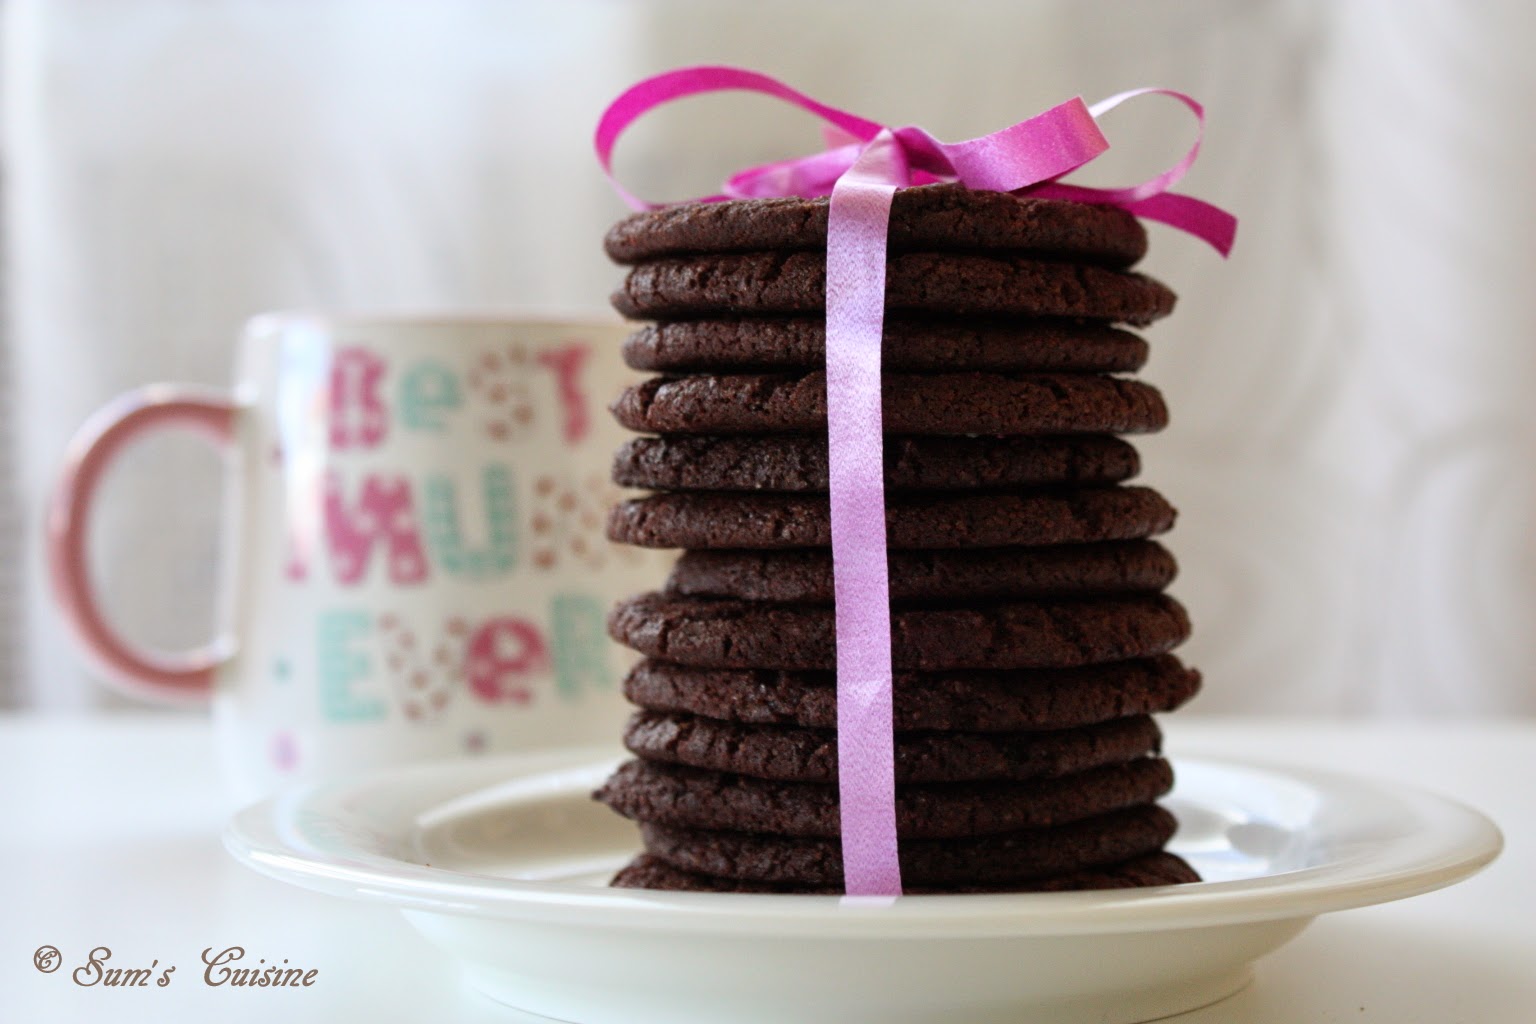
Chocolate Wafers

I can never get enough of chocolate! Well, I looove to bake with chocolates and trying out different chocolate based bakes makes me happy! And well, who doesn't like cakes and cookies with chocolates? So it is Chocolate wafers this this around here!


I thought of deferring posting this as my previous post was Wacky Chocolate Cake, but couldn't resist my temptation to share it! The pics of other stuff that I've made and shot are not yet processed and why not post the same, I thought....


Well, these chocolate wafers are really simple to put together. The dough making took hardly 15 minutes of my time and then off it went to the fridge, in the form of logs. The excess can be dumped into the freezer too! It can be pulled out of the refrigerator whenever necessary, cut into slices and baked. And the baking time is also very little – 10 minutes for a batch is nothing, if you ask me, especially what comes out is a batch of drool worthy, chocolaty cookies!


And did I tell you these have very very little fat?? And they stay fresh for about two weeks!! Hope you'll enjoy these as much as we did! Here's the recipe....

Chocolate Wafers


Preparation time: 15 min
Resting time: Overnight
Baking time: 12 min
Makes: 36 - 40 cookies
Source: Joy of Baking

Ingredients:
All Purpose Flour - 1 cup (130 grams)
Unsweetened Cocoa powder - 1/2 cup (50 grams) (regular or Dutch-processed)
Baking soda - 1/4 tsp
Salt - 1/4 tsp
Unsalted Butter - 3 Tbsp (45 grams), room temperature
Margarine - 3 Tbsp (45 grams)
Packed light brown sugar - 2/3 cup (140 grams)
White granulated sugar - 1/2 cup (100 grams)
Pure Vanilla extract - 1 tsp
Egg white - 1 large (30 grams)

Method:
To make the Dough:
  • In a bowl, sift or whisk together the flour, cocoa powder, baking soda, and salt.
  • In the bowl of your electric mixer (or with a hand mixer), beat the butter and margarine until well blended.
  • Add the sugars and vanilla extract and beat on high speed for about one minute. Scrape down the sides of the bowl.
  • Beat in the egg white.
  • Add the flour mixture and beat just until incorporated.
  • Place the dough on your counter and, using your hands, evenly form the dough into a log shape that is about 9 inches (23 cm) long. I made two smaller logs of about 5 inches long
  • Carefully wrap the dough in aluminium foil, parchment paper or wax paper and fold or twist the ends. Try not to flatten the log.
  • Refrigerate until firm. This will take several hours or you can even chill it overnight.
To bake the Cookies:
  • Preheat the oven to 180 deg C (350 degrees F) and place the oven rack in the center of the oven. Line two baking sheets with parchment paper.
  • Using a sharp knife, slice the log into about 1/4 inch (6 mm) thick wafers.
  • Place the wafers on the baking sheet spacing, about 1 inch (2.5 cm) apart.
  • Bake for approximately 10 - 12 minutes or until the the cookies puff and the tops of the cookies have cracks (ripples).
  • Remove from oven and let the cookies cool on the baking sheet for about 5 minutes before removing to a wire rack to cool completely.
  • Can be stored in an airtight container, at room temperature, for about 10 days. They can also be frozen.
Notes:
  • I used 90 g (6 Tbsp) of dairy free margarine only
  • I made two smaller logs and baked them on separate days.
  • Baking for 10 minutes gave slightly chewy cookies and 12 minutes gave crispy ones


Monday, June 30, 2014

Wacky / Crazy Chocolate Cake - Egg-free, Dairy-free, Mess-free!


You will be having a bunch of guests in the next hour and after cooking a meal for them you realize you have not made a dessert! You can fix it by serving the vanilla ice cream stocked up in the freezer, but is that enough? How you curse yourself for not having baked a chocolate cake for the dessert! But the thought of measuring, creaming, mixing, baking just before the guests arrive dreads you. Especially the washing of the numerous measuring, mixing bowls that end up in the sink after a bake. Honestly that is what scares most of us!


For such a situation, who doesn't need some easy breezy, quick and dirty, mess free recipes in one's repository? How much ever you love to bake those elaborate, hi-fi recipes, which require accurate measurements, lengthy instructions on the method, which should be followed very carefully and exactly, I bet you sometimes long for a carefree and easy recipe to bake, something that does not require weighing the ingredients carefully, not needing a mixer to mix with, something that you can dump the ingredients and mix it with a spatula and bake. And what if it is an egg-free, dairy free recipe, making it suitable with almost any kind of crowd? And wait, here comes the ultimate catch - you will not end up washing the dozen utensils after pushing the baking pan into the oven!! All you'll have is a spatula, and may be a measuring cup. Yes, you read that right!!


I came across this recipe somewhere on the net while browsing and it caught my attention for two reasons. One, the simplicity and strange uniqueness of the recipe and two and most importantly, it is egg free and dairy free, making it suitable for my little kiddo to try, as he is allergic to dairy. Wow! Of course he is too small yet to have the cake for himself, and all he got was a taste of it, and the rest of it was polished by you know who :D And of course some taste testers in the hubby's office ;)


So, as i said earlier, the procedure is very simple, and kind of weird, if you ask me! You mix the dry ingredients straight away in the baking pan - yes, baking pan, and make three indentations to pour each wet ingredient in, and pour water all over and mix with a spatula! And bake, voila! Does this not sound weird? Of course it did to me, when I read it, but many sites I looked for said the same, which managed to give me the courage to try it. But I didn't want to risk baking it half an hour before guests arrive, before testing it. So this was a test bake, and quite satisfactory. So the next time, if you come home in a short notice, you know what to expect for the dessert ;)


As for the taste, it is not bad at all. Be sure not to over-bake as it dries out pretty fast. And serve it preferably warm, with a sprinkle of vanilla sugar or a topping and some vanilla ice cream. Trust me, you will not regret for having tried it, and the recipe will get into your repository of quick fix, emergency recipes.

Since I have already tested it for you, you can straight away try this for your guests, without having to test bake it :) here you go.....

Wacky / Crazy Chocolate cake

The sources say this cake came to being during war times when there was a scarcity for ingredients and so on... whatever it is, it is a handy recipe for sure!


Preparation time: 10-15 min
Baking time: 30-35 min
Source: Sweet little bluebird

Ingredients:
All Purpose Flour - 1 ½ cup
Unsweetened Cocoa powder - 3 Tbsp
White granulated sugar - 1 cup
Baking soda - 1 tsp
Salt - 1/4 tsp
White vinegar - 1 tsp
Vegetable oil - 5 Tbsp
Water - 1 cup
Pure Vanilla extract - 1 tsp

Method:
  • Preheat oven to 180 deg C (350 degrees F).
  • Mix first 5 dry ingredients in a greased 8" square baking pan. I used an oval tray.
  • Make 3 depressions in dry ingredients - two small, one larger (see the collage pic below).
  • Pour vinegar in one depression, vanilla in the other and the vegetable oil in third larger depression.   
  • Pour water over all.
  • Mix well until smooth.
  • Bake on middle rack of oven for 35 minutes.
  • Check with toothpick to make sure it comes out clean. Cool.
  • Top with a frosting or just sprinkle some vanilla sugar and serve with an ice cream like I did and enjoy!
Notes:

  • Make sure not to over bake this cake as it turns out drier.
  • Once cool, cover the cake in an airtight container and it stays good for 3-4 days