Monday, June 30, 2014

Wacky / Crazy Chocolate Cake - Egg-free, Dairy-free, Mess-free!


You will be having a bunch of guests in the next hour and after cooking a meal for them you realize you have not made a dessert! You can fix it by serving the vanilla ice cream stocked up in the freezer, but is that enough? How you curse yourself for not having baked a chocolate cake for the dessert! But the thought of measuring, creaming, mixing, baking just before the guests arrive dreads you. Especially the washing of the numerous measuring, mixing bowls that end up in the sink after a bake. Honestly that is what scares most of us!


For such a situation, who doesn't need some easy breezy, quick and dirty, mess free recipes in one's repository? How much ever you love to bake those elaborate, hi-fi recipes, which require accurate measurements, lengthy instructions on the method, which should be followed very carefully and exactly, I bet you sometimes long for a carefree and easy recipe to bake, something that does not require weighing the ingredients carefully, not needing a mixer to mix with, something that you can dump the ingredients and mix it with a spatula and bake. And what if it is an egg-free, dairy free recipe, making it suitable with almost any kind of crowd? And wait, here comes the ultimate catch - you will not end up washing the dozen utensils after pushing the baking pan into the oven!! All you'll have is a spatula, and may be a measuring cup. Yes, you read that right!!


I came across this recipe somewhere on the net while browsing and it caught my attention for two reasons. One, the simplicity and strange uniqueness of the recipe and two and most importantly, it is egg free and dairy free, making it suitable for my little kiddo to try, as he is allergic to dairy. Wow! Of course he is too small yet to have the cake for himself, and all he got was a taste of it, and the rest of it was polished by you know who :D And of course some taste testers in the hubby's office ;)


So, as i said earlier, the procedure is very simple, and kind of weird, if you ask me! You mix the dry ingredients straight away in the baking pan - yes, baking pan, and make three indentations to pour each wet ingredient in, and pour water all over and mix with a spatula! And bake, voila! Does this not sound weird? Of course it did to me, when I read it, but many sites I looked for said the same, which managed to give me the courage to try it. But I didn't want to risk baking it half an hour before guests arrive, before testing it. So this was a test bake, and quite satisfactory. So the next time, if you come home in a short notice, you know what to expect for the dessert ;)


As for the taste, it is not bad at all. Be sure not to over-bake as it dries out pretty fast. And serve it preferably warm, with a sprinkle of vanilla sugar or a topping and some vanilla ice cream. Trust me, you will not regret for having tried it, and the recipe will get into your repository of quick fix, emergency recipes.

Since I have already tested it for you, you can straight away try this for your guests, without having to test bake it :) here you go.....

Wacky / Crazy Chocolate cake

The sources say this cake came to being during war times when there was a scarcity for ingredients and so on... whatever it is, it is a handy recipe for sure!


Preparation time: 10-15 min
Baking time: 30-35 min
Source: Sweet little bluebird

Ingredients:
All Purpose Flour - 1 ½ cup
Unsweetened Cocoa powder - 3 Tbsp
White granulated sugar - 1 cup
Baking soda - 1 tsp
Salt - 1/4 tsp
White vinegar - 1 tsp
Vegetable oil - 5 Tbsp
Water - 1 cup
Pure Vanilla extract - 1 tsp

Method:
  • Preheat oven to 180 deg C (350 degrees F).
  • Mix first 5 dry ingredients in a greased 8" square baking pan. I used an oval tray.
  • Make 3 depressions in dry ingredients - two small, one larger (see the collage pic below).
  • Pour vinegar in one depression, vanilla in the other and the vegetable oil in third larger depression.   
  • Pour water over all.
  • Mix well until smooth.
  • Bake on middle rack of oven for 35 minutes.
  • Check with toothpick to make sure it comes out clean. Cool.
  • Top with a frosting or just sprinkle some vanilla sugar and serve with an ice cream like I did and enjoy!
Notes:

  • Make sure not to over bake this cake as it turns out drier.
  • Once cool, cover the cake in an airtight container and it stays good for 3-4 days

Monday, June 16, 2014

Baby Food: Ragi Sari - Multi grain Malt


Here comes the next variety of infant malt, again prepared by mom. This is a combination of ragi (finger millet), wheat, rice and green gram. All the grains are sprouted, dried, and then ground. We did not sieve it, as we wanted some texture to remain, making Adu go one step further from very smooth porridge. However it is fine enough to feed a 6 month old.


I introduced this to him after 3 weeks of starting on solids, after the first plain ragi malt was finished. He did take moderately well to this, though not as much as the former one. I realised it was probably because of the weird flavour that green gram added to the malt. I tried by cooking it for longer, and the green gram flavour subsided considerably. He then started enjoying it.


Now, after he is 8 months old, I've been giving him a lot of semi solids and a few soft dosas and other stuff, but this ragi malt also features in his diet quite regularly, which he enjoys. Having a tin of home made malt comes in really handy at times, when the kiddo is bored of other stuff, or you want to mix and match and experiment (More about the experiments later)

So here goes the recipe...

Ragi Sari / Nutritious Multi-grain Malt

Ingredients:
Ragi - 1 kg
Wheat - 200 g
Green gram - 200 g
Rice - 200 g

Method:
  • Soak ragi, wheat and green gram separately for 6 - 8 hours.
  • Drain the grains and tie them separately in a clean muslin cloth for germination.
  • Green gram will germinate in 8-10 hours while wheat and ragi will take 48 hours to germinate.
  • Wash rice and drain
  • Cover the sprouted grains and rice loosely with a thin cloth and Sun dry separately
  • Once dry, roast the grains till it gives a nice aroma and mix together
  • Cool completely and grind it to a fine powder. I got it done in the flour mill. A powerful mixie would also do the job
  • Store in an airtight container and use for the porridge.
Method of making the porridge here.


Monday, June 9, 2014

Rave Rotti / Semolina Flatbread


People have started asking me now, how I get the time to try many cooking and baking recipes and even blog about them, with an almost 8-month old. Well, I guess if one wants to do something, one figures out a way to! I tell them I get more time now, than when I did with him in my tummy!! Being the footballer he is, he'd kick every food that went into my tummy and I'd throw up almost every meal! Which left me with not much of an appetite to eat or cook! Seems so funny now, to look back... how I hated cooking or anything to do with food, except occasionally enjoying eating out. The interesting meals that D or Amma churned out frequently, tailored to suit my changed taste buds, the super sensitive nose, changed tummy capacity, with reduced spice levels would please me only occasionally... and then there was this question of whether the little fellow inside would decide to not it kick out!! So as a result of all these the blog suffered inactivity too.


And now, with my lil one being fond of watching me cook, right from the time he's 2 months old, I am loving to churn out different things - cooking and baking. He loves to sit in his little chair, earlier in his bouncing chair, watching me talk, and sing and cook or bake. I hand him a light weight, baby safe cutlery or a colorful wrapper or something that keeps him occupied for a few minutes and quickly dish out something. Most of the times, I had not been able to feed the little one what I cook as he was too small, but now, I guess I can start giving him a taste of many of the delicious stuff that i prepare.   


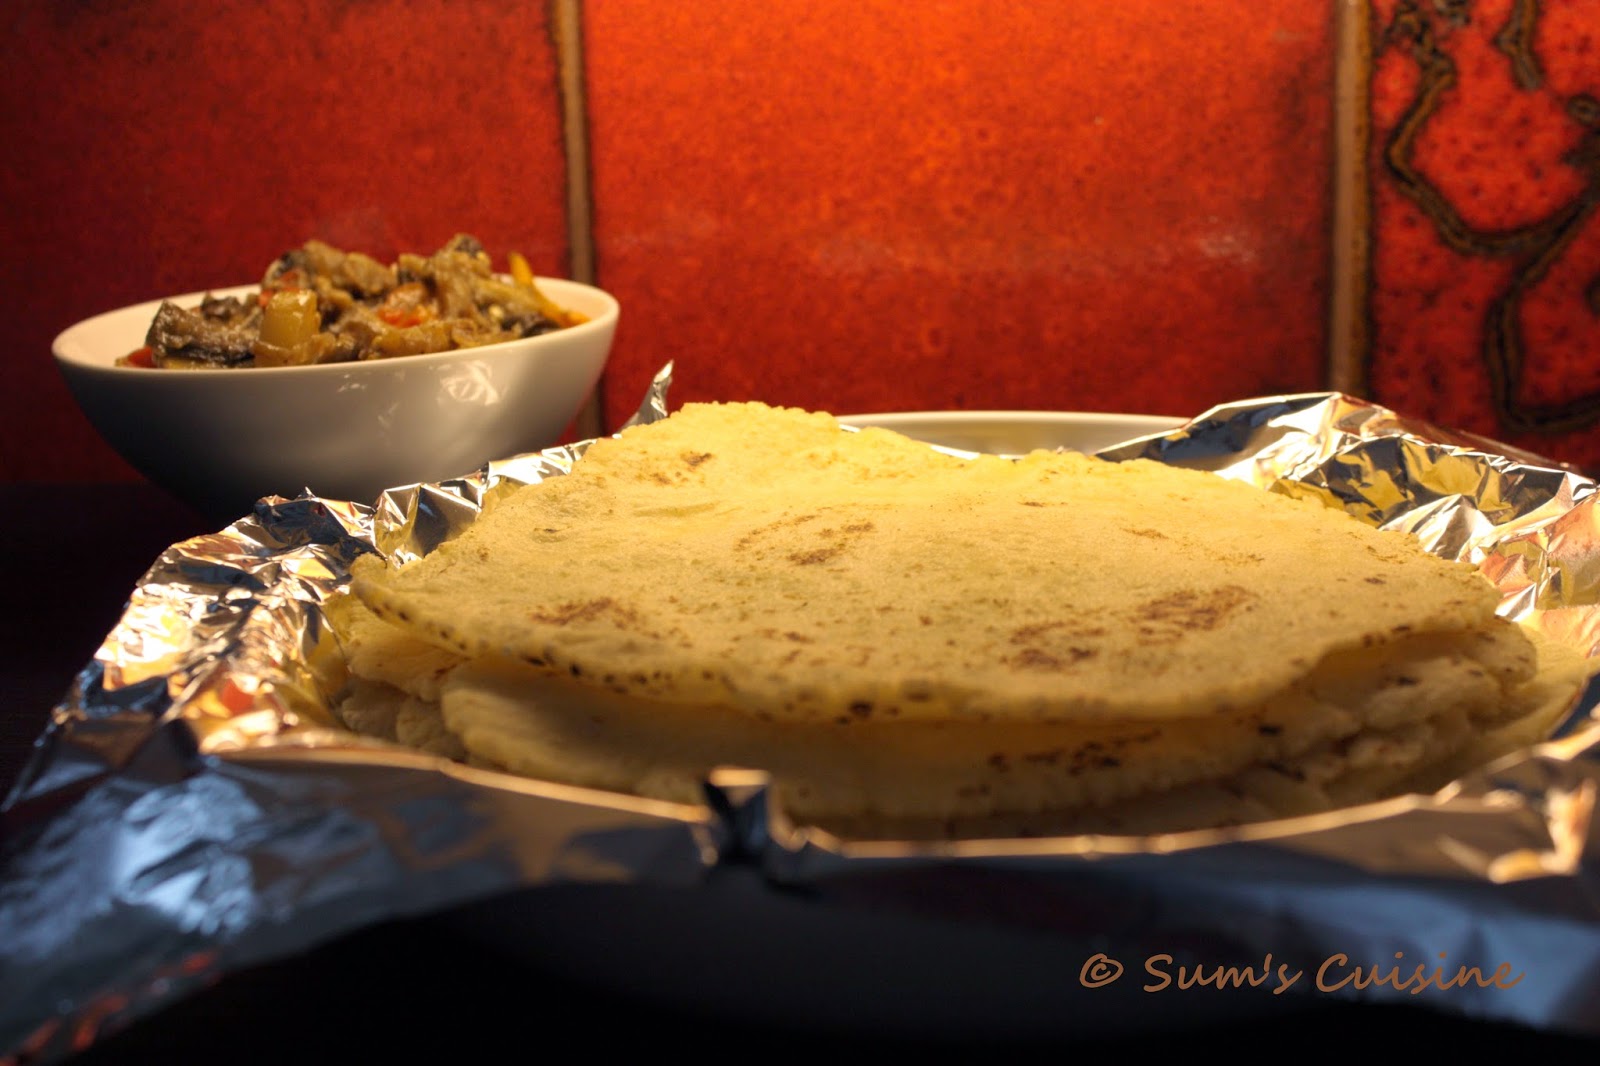
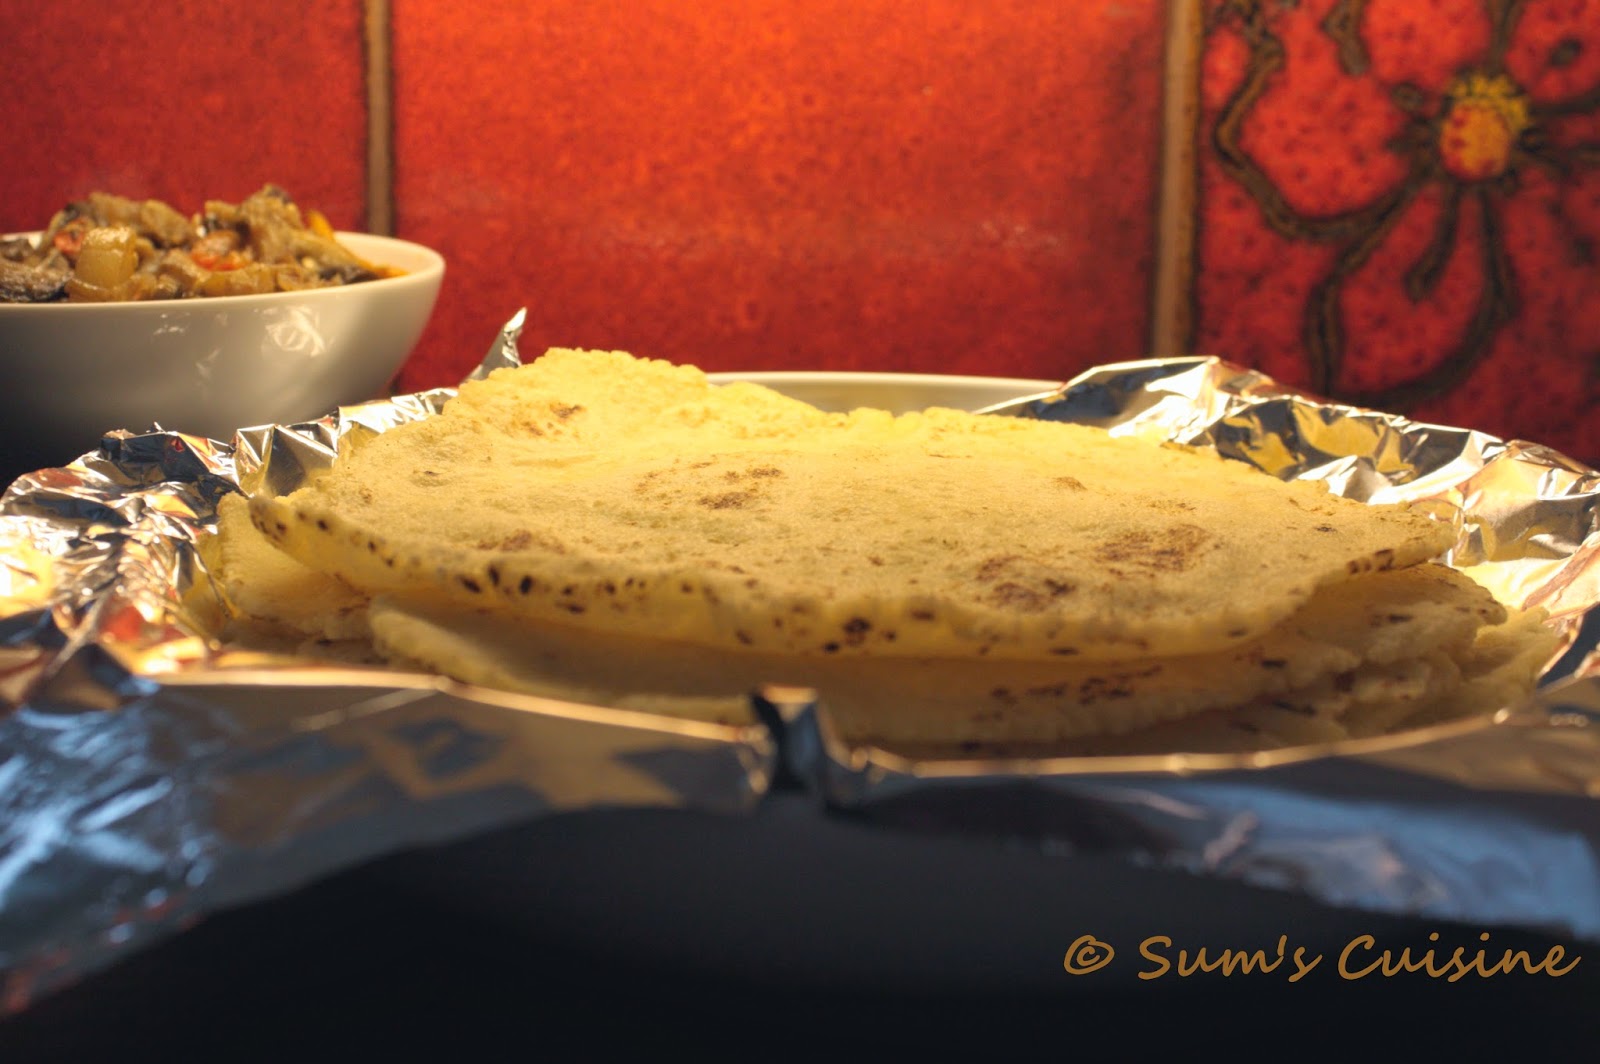
So, coming to the recipe of this post, these are rottis/flatbread made of fine semolina. The semolina is cooked first in water and then, kneaded when still warm and rolled to rotis and cooked on a skillet. It does not require any oil for cooking except for a few drops that are used for kneading the dough. The resulting rotti is soft, almost melt in the mouth, that goes along well with many curries and gravies. It is similar to the Ubbu rotti prepared with rice flour but a bit easier that them for kneading and rolling. 


Well, don't get scared to attempt these reading the steps, it is not very difficult than making normal chapathis/roties... just a step or two more... But the result will be totally worth it.... So here's how we make it....   

Rave Rotti / Sooji Roti / Semolina Flatbread

Preparation time : 15 min 
Cooking time : 5 min for the dough and 2 min for each rotti 
Makes : 10-12

Ingredients:
Fine Semolina (Chiroti rava/sooji) - 2 cups 
Maida / Whole wheat flour - for dusting
Water - 2 cups (This usually works fine but you'll know the exact amount required for your sooji after one trial)
Salt - ½ tsp, or as per taste
Cooking Oil - 2 tsp

Method:
  • In a heavy bottomed pan, boil water by adding salt and a few drops of oil
  • Once water starts boiling, add semolina and let it remain for 4-5 minutes on medium low flame
  • At the end of it, take a strong ladle and continuously stir, avoiding lumps. A wooden one works better
  • Turn off the heat and continue mixing as much as possible. The resulting dough should be similar to that of papad dough - soft, but non sticky
  • Let it cool for a couple of minutes so that it can be handled
  • Divide the dough into 3-4 parts and knead it well, smearing a few drops of oil. See notes below for easier ways.
  • Once the dough is kneaded well into a soft but firm dough, take small lemon sized balls and roll it using rolling pin like a chapatti/roti. Use a little amount of maida or atta for dusting.
  • Heat a griddle on high flame and cook the rolled rotti on both sides by flipping. Ensure not to brown the rotti. Appearance of light brownish spots indicates that it is done.
  • Repeat the same with rest of the dough
  • Serve hot with some palya/gojju/chutney
Notes:
  • To avoid your palms getting burnt while kneading the hot dough, fill it in thick polythene and cover it in a towel / thick cloth and knead it over it. This way a smooth and soft dough will be ready in a jiffy
  • Knead it, make into balls before you start rolling. This saves time and effort, and it gets easier to roll and then cook simultaneously. Or you can roll all of them first and then cook them one after the other. To stack up the rolled rotis make sure you've dusted them well, to prevent sticking to each other 
  • The better you knead, the easier it is to roll. If the dough is not kneaded well, while rolling the rottis start cracking and gets difficult to handle